R.E.D – Textual Analysis For C.P.R

For my textual analysis I’m going to be talking about mine and Samuel John’s C.P.R film ‘One Who Looks’. The film is primarily based in an old peoples home where all the residents have a dark past, but when a new resident moves in this disrupts everything. The residents of the home routinely sacrifice anyone getting too old and small infant animals in an attempt to summon a dark presence that lingers in / around the home. The film focuses on following the story of an old woman who has moved in and her troubles with the other residents, in the end she accepts the summoned spirit and it accepts her, resulting on it turning on the other residents that previously tried to summon it and tormented it.

The film deal with many issues, the main one being old people wanting respect. We decided to focus on this as it’s something that hasn’t really been explored in depth and a strange horror film is a good way to explore it. Something else we want to explore is creating pure horror without jump scares, the feeling of uneasiness and tension, we hope to achieve this though long lingering shots and uneasy and intrusive encounters.

Someone with their mother / father in a home

Hopefully the film will portray the home as a scary place and should make someone who knows someone in a home visit them more. IT should hopefully highlight that moving into a home could actually be a scary prospect for an old person, after being independent for so long they are suddenly thrust into this limbo of just sitting around. Someone with their parents facing going into a home may watch this and help to settle them into the home more than they would if they hadn’t. someone in this position may also treat the other residents of the home with more respect or even make an effort to find out about their stories and past.

Someone old and in a home

Someone who is aged and in a home may take in one of two ways, they may see it as a bit of a joke and get the point or they may take offence to it. The film is really trying to play on the fact that older people just want to be respected, not mocked or looked over. Having power means having respect in their eyes (in the film, not in general), their power comes from summoning this monster. An older person should hopefully pick up on these themes and also, and also enjoy the film because it’s about them and empowering them. But what does an older person look for when they watch a film? I think perhaps something that reminds them of their past. In this film their are stories of each old persons past, they tell tales of their bad deeds, so perhapse an older person may look back on their regrets. In that case would this film make them sad?

Someone looking for a different kind of horror experience.

I imagine if you’re looking for a new horror experience you’d be look for something different, this is exactly what we’re trying to go for. Old people are the protagonists and antagonists, something that has rarely been focus to many films, and if they are the focus they’re aimed at an older generation. Our film has long lingering shots, that make the viewer feel uneasy and as if they are the one who looks, they almost become the monster until we see it move, suddenly changing their perspective, it jolts the viewer into an uneasy and makes them distrust the film.
R.E.D – A Cold And Industrial influence

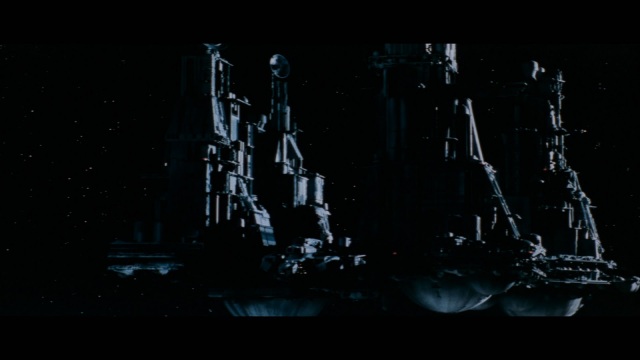
nostromo

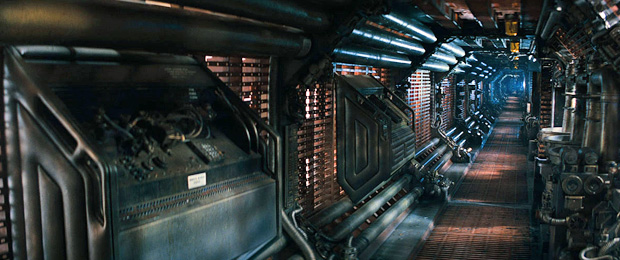
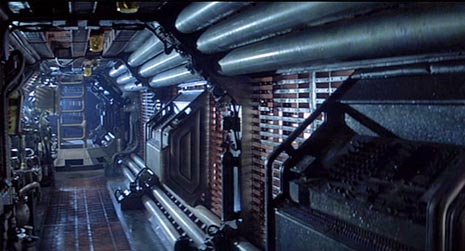
One massive inspiration for the design of my ship is the nostromo from Ridley Scott’s ‘Alien’. The way the nostromo looks is very industrial and powerful, the way the pipes run throughout the ship and everything is exposed gives it a certain character that I loved.


Alien Alien_spacebeast-alien-crewsship-inside BRIDGE-06


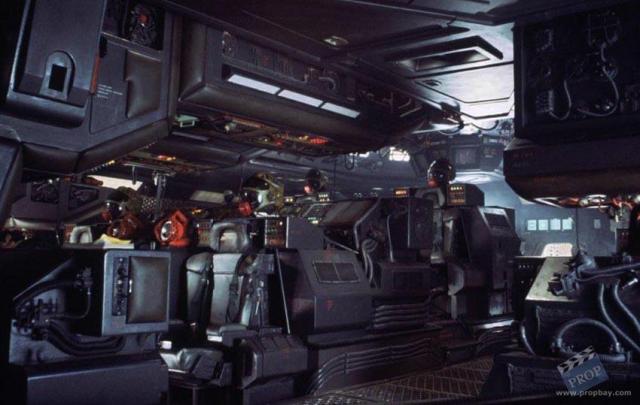
I love the paneling, the grates and the pipes in the design and want to take these elements and incorporate them into my own ship design. The nostromo also has some awesome control panels like the one bellow:

I wish to hopefully design something like this myself for my own ship, something with lots of buttons and screens.

So what can I take away from this film? I can take away the dark ambient influence the ship has over the film, almost as if it feels alive. I can use the pipes and grates in different creative ways, much like in this. I just need to experiment.

R.E.D – Project Review

This project was about experimenting and developing myself as a director, I wanted to learn what it was like to be a set designer as this was something I had never explored before. Putting myself the shoes of a set designer would allow me to communicate with them better in the future when I need something created, it will also allow me to work with them and understand how long it can really take to build something so big. The research came in figuring out how to achieve the outcome I wanted, HOW can I get this wall to stand? HOW can I get these doors to open, HOW can I make this ship look industrial? Initially I wanted to focus on using 3d programs like 3ds max and Zbrush, but I found this would take too long and I was already in the process of building a set piece.

What inspired me and helped me the most with research was a video on vimeo called ‘C (on-set update)’, 2012. In the video it showed how they built a spaceship on a low indie budget. I took a lot away from this and realized that building such a set wasn’t just a dream. Alien (Scott, 1979) was another massive influence to me, the way the pipes of the Nostromo ran throughout the ship and everything was exposed as if you could see into the heart of the beast that was the ship was very powerful. It defiantly made the ship seem industrial which was what I was trying to capture in my set.  Especially how dark it was, in both atmosphere and tone.

When I was creating the command modules, Not only was I drawn to the flickering lights of the bridge of the Nostromo from Alien, but also heavily to the sleek style of the Prometheus ship in Prometheus, (Scott, 2012). The dark black panels of the Prometheus bridge and bright contrasting screens and lights intrigued me, so I wanted to mash that together with the set design of Alien and the short film C 299,792 km/s (Gorder, 2013).

I chose to work along side my dad as he had the know how and knowledge of construction that I didn’t, so I made him lead set constructor, if that is such a thing. He helped plan out the construction and let me know if my ideas were realistically able to become reality. I also chose to collaborate with Robert Marshall, he worked as cinematographer on the film as he knew a lot about lights and I trusted him to pull it off. We worked together discussing possible lighting set ups and overcoming problems such as not being able to set up the lights we wanted through DMX so having to switch to daedo lights. Working with rob went really well, we had no problems and always understood where each other was coming from.

Looking at all my influences, it was fairly obvious I wanted to go for an industrial exposed and cold ship, but I had to change the idea of what I wanted early on in the development as I just couldn’t afford nor did I have the space to pull off what I wanted. This may have in fact affected the overall outcome of the ship, it has nowhere near the same amount of detail I imagined it having which is a real disappointment. I wanted pipes, grates, smoke, panels, and dirt… Instead I had to re-design and settle with something a lot more sleek, it still looked good, but not as good as i wanted.

A lot of problems came up on set, but you don’t really think about documenting them when it’s 5 in the morning and you’re still building a space ship and the actors are coming in a couple of hours. But i suppose you could call that in itself a problem, not being finished on time. While working on the set everything seemed to be going well, being finished on one day always got pushed to the next day and the list of jobs to  complete started to fill up quicker than things were being ticked off. I think management was a key thing I could have improved on, but then again it was only two of us building it until the final days. I would say that’s a pretty impressive feat. I also came across things like everything not sticking to anything, nothing would stick. NOTHING. The module lights also rarely worked on full power, so on the last day we had to wire them up to the mains which was what I wanted to do in the first place. There was a lot of compromising on shots in order to capture the entire scene in time, this mainly occurred because of building the set the majority of the day the actors arrived and we were supposed to be shooting. Another massive problem came from having to be kicked out of the office where the set was built. We had a month to build and shoot the interior shots, so that put a lot of pressure on me and the whole crew. There were a lot of things that in the end I could not do, I could not make the walls removable for camera movement so instead I adapted my idea to make certain panels of the wall removable, that way I could shoot through them. Although in the end this was a wasted effort as we only used it for one small shot.

If I was to do it differently next time I just wouldn’t do it. It sounds sad but that’s just how it is. I’m still at uni and it cost me a lot of money and time, time and money I could have used  creating something more refined instead of having to rush out of our venue. It has taught me to not go over the top, and to consider what is achievable. We managed to pull it off in the end though, i would not have been able to do it if it weren’t for a fantastic crew helping me out.

References:
‘C (on-set update)’ (2012) Vimeo. Seaquark Films. Available at: https://vimeo.com/39643267 (Accessed: 8 December 2014).
Gorder, D. V. (2013) C: 299,792 Kilometers Per Second. C: 299,792 Kilometers Per Second (2013). Available at: http://www.imdb.com/title/tt2762746/?ref_=fn_al_tt_1 (Accessed: 8 December 2014).
Kosinski, J. (2013) Oblivion. Oblivion (2013). Available at: http://www.imdb.com/title/tt1483013/?ref_=tt_rec_tt (Accessed: 8 December 2014).
Scott, R. (1979) Alien. Alien (1979). Available at: http://www.imdb.com/title/tt0078748/ (Accessed: 8 December 2014).
Scott, R. (2012) Prometheus. Prometheus (2012). Available at: http://www.imdb.com/title/tt1446714/?ref_=nv_sr_1 (Accessed: 8 December 2014).


R.E.D – Creating the CGI ATLAS

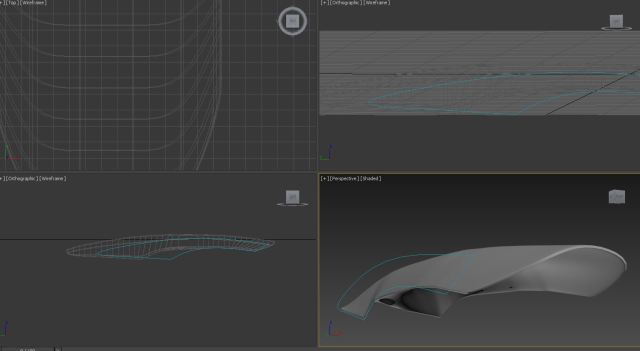
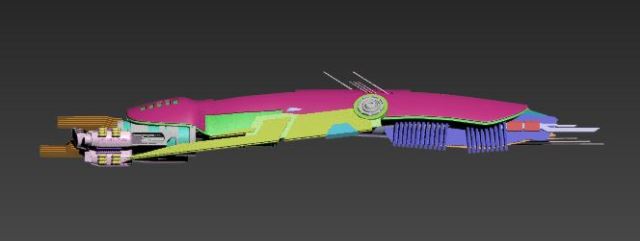
So I decided to so something really hard, something that I was not prepared for but actually taught me quite a lot. I wanted to build a CGI space ship considering I was also looking at and experimenting with CGI. I wasn’t too sure on what I wanted so just kind of played around in 3ds max for a bit. Eventually after playing around I came up with the shape bellow.

hull


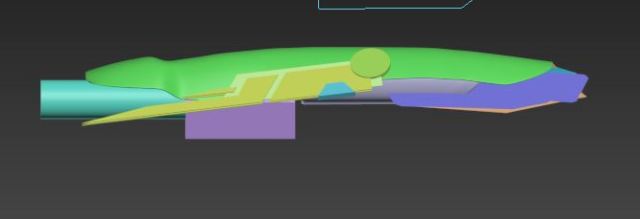
I thought this was a good start so I started adding shapes to it, i pretty much just typed “sci-fi ship” into Google and looked at every image for inspiration. By the end of my messing around I had what you see below.

left


Now that i had a decent outline for my ship, all I had to do was add detail to it. It took me about 3 days to add detail and mess around with it, 3d work takes an amazingly long time to do.

left 2

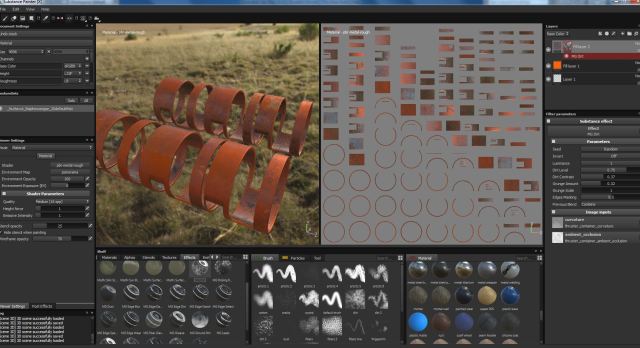
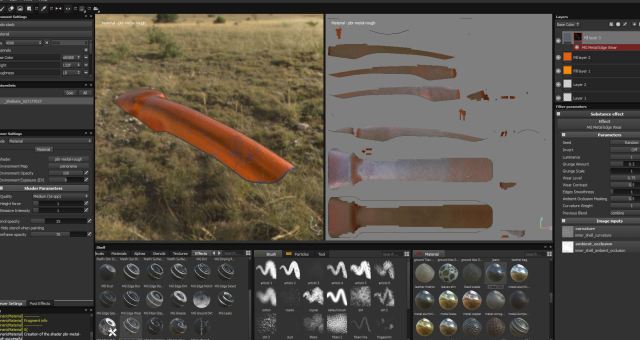
I had my detailed ship and re-sized a few things, next it was time for texturing. I have no idea how to texture, but after a long search and testing out nearly every texturing program out there I found a program called ‘Substance Painter’. It was perfect and easy to use so I decided to try it out.

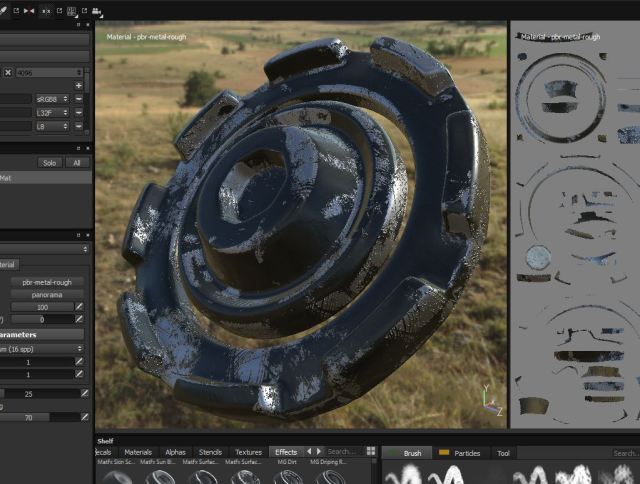
I decided to have a relatively simplistic design, but in hind sight I think I went a bit over the top on certain metallic effects and made a couple of things too shiny, so I will have to fix them for the final version of the film.
tecturikemsgf texturing wing bolt


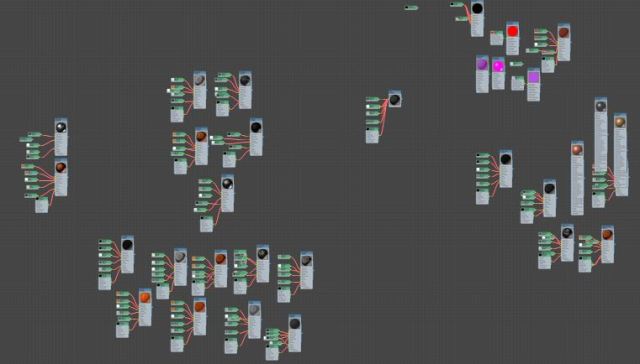
Getting the textures into 3ds max took me a whole day and a half to figure out. It wasn’t as simple as linking the textures to the corresponding texture slots, I eventually figured out I had to change the material type to a Metal and add a reflection node.  Bellow you can see all the textures in place. All in All it took be three days to texture the ship, and it’s not even final, I want to re-do it all. The ship is way too metallic and shiny.

tes

Rendering out the whole sequence took 11 hours because I was using a raytrace render, the render would have been quicker using something like V-Ray. Bellow you can see the final outcome.

R.E.D – Dealing With The Set On The Shoot

DAY ONE

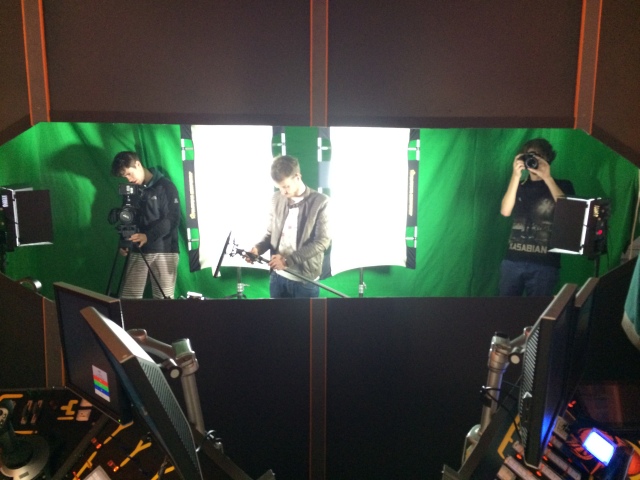
Day one started off rough, Mainly because no one had had any sleep. Me and my crew still had the ship to finish building and the actors were arriving. The actors arrived and still we were building. A shoot that was meant to start at 10:00am, started at 3:00pm. This taught me that building a set takes a damn long time, more than you think. Every time we thought we had finished something there was something else to do.
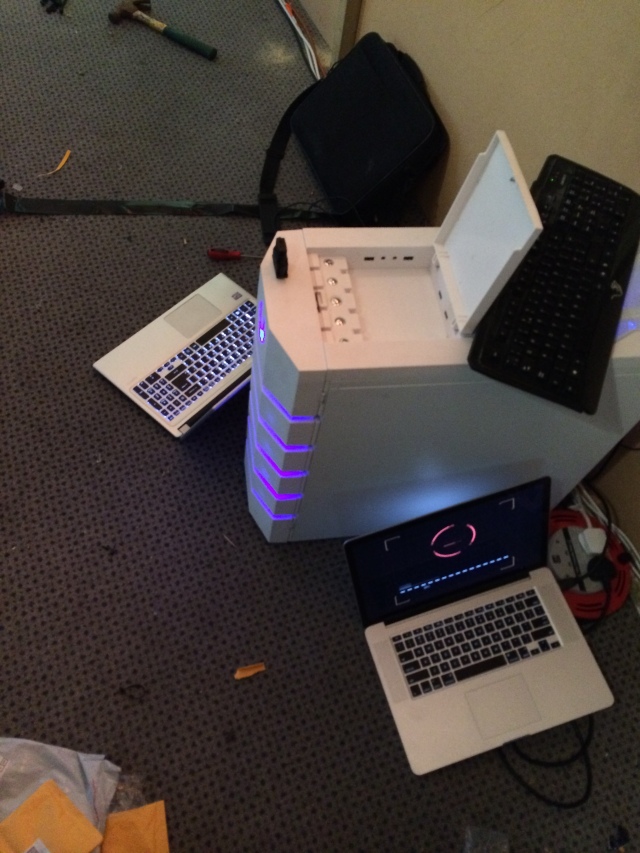
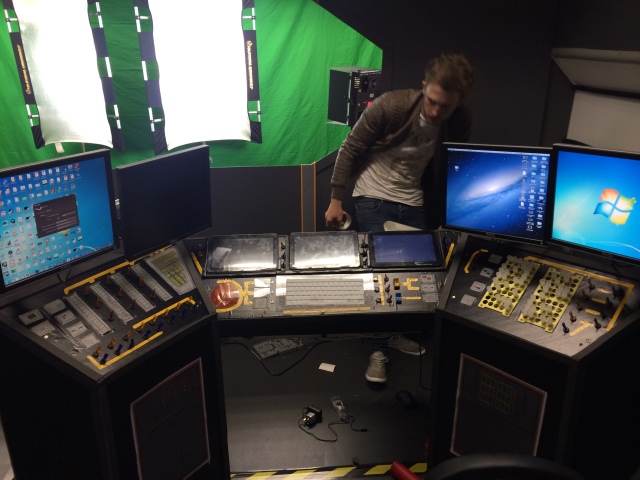
Today was also the day i set up the screens, and boy did they take some power to set up. 12 screens, 12! I had one computer powering three screens on the navigation module and a laptop powering the last screen. On the flight module I had another computer powering 2 and a laptop powering one and then had to keep switching a laptop from the navigation module. The smaller screens on the navigation modules are just cheap Chinese tablets looping a video.

IMG_1307

IMG_1301

DAY TWO

There were no real problems on day two, The only trouble we really had were making sure the sliding doors didn’t look like wood bouncing against each other, they had to look sturdy and metal. Luckily Aden and Rob.M managed to do a good job of making them look like I wanted.

DAY THREE

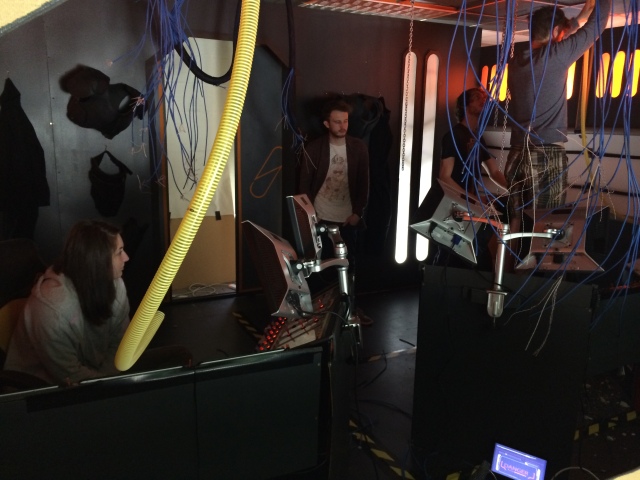
This was the day we destroyed the set and the lighting. It was easier than I thought with a lot of help from my crew, they did a really good job.

IMG_1325

R.E.D – Designing The Command Screens

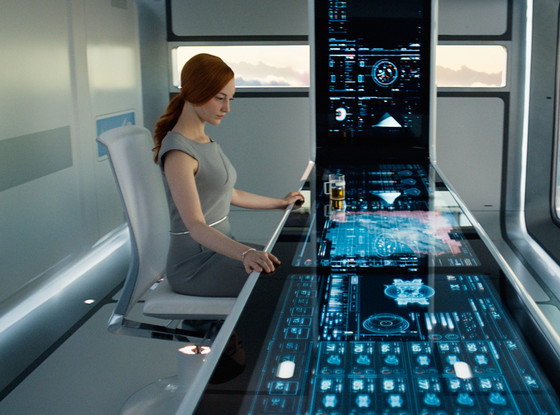
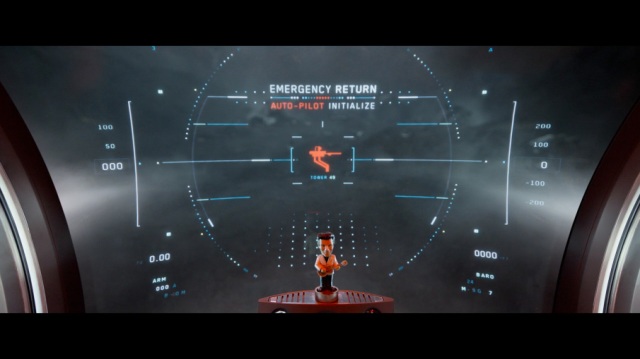
My main influence for these screens was the film oblivion, I loved the sleek style and look of the graphic interfaces. So it was time for me to design my own.

rs_560x415-130419161829-1024.2oblivion.ls.41913


oblivion_1080p_rip_054_905


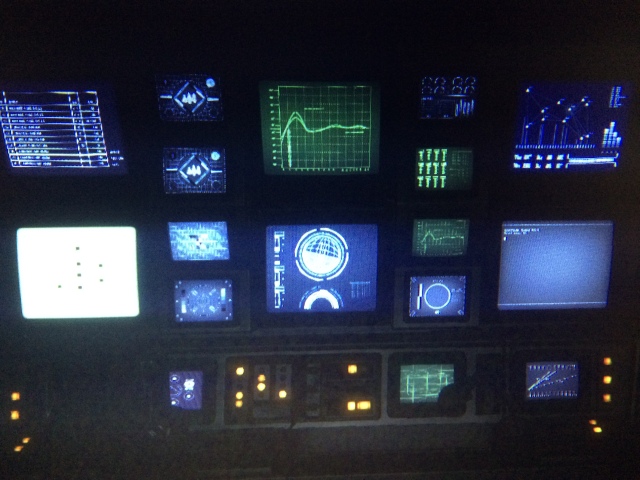
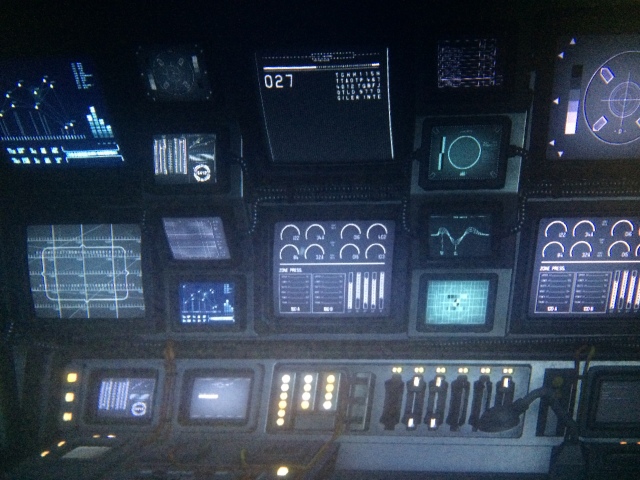
The game Alien isolation also inspired me with its more simplistic designs. These had a more industrial feel to them, like they were just pure data.
IMG_1139 IMG_1174


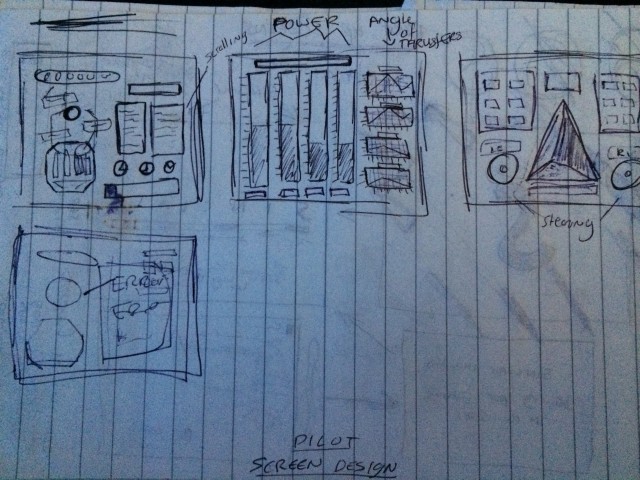
I got drawing some of my own designs on paper for reference when I came to make them myself as you can see below.

IMG_0947


There was one problem when it came to designing mine, I left it a bit too late because all my energy had been focused  on construction the ATLAS. So when I came to do it, it was about 6 in the morning the day of the shoot. It was really hard but I managed to find a pre-constructed packaged of designs I could fit together in after effects. Bellow you can see a video of all the screens I created.

If I had more time I feel like I could have really pushed and created something that did the ship a bit more justice.

R.E.D – Destroying The Atlas

IMG_1324

What do you do once you’ve built a ship? Destroy it obviously. We found wires and stuff lying around the building which we took and placed hanging down from the roof, also in alien there is a really cool shot of chains hanging down from the roof, so I wanted chains. Turns out chains are super expensive so I couldn’t get as much as I wanted.  It’s really easy to destroy something, but heart breaking when it’s taken you about 4 months of planning and construction and a lot of money.

IMG_1325 IMG_1326

R.E.D – Colouring The Atlas

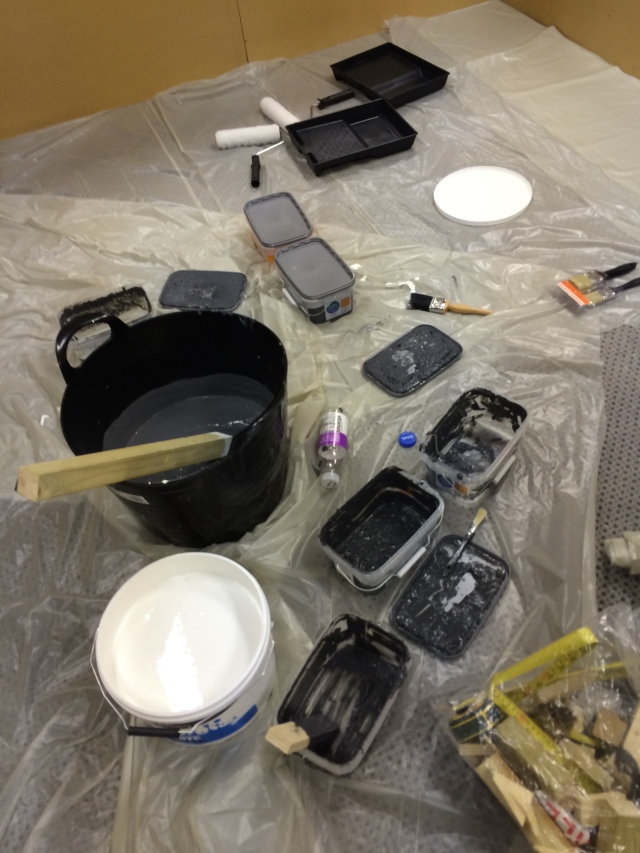
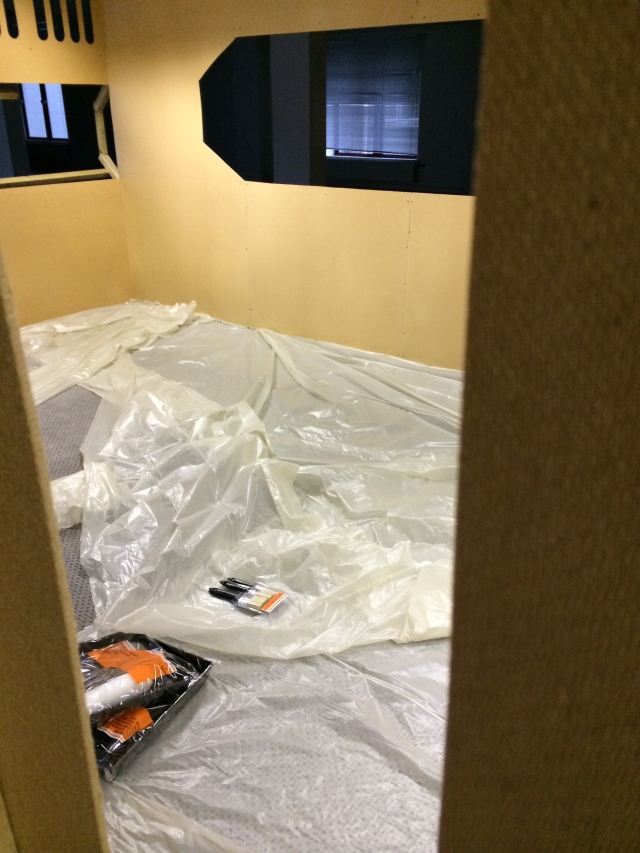
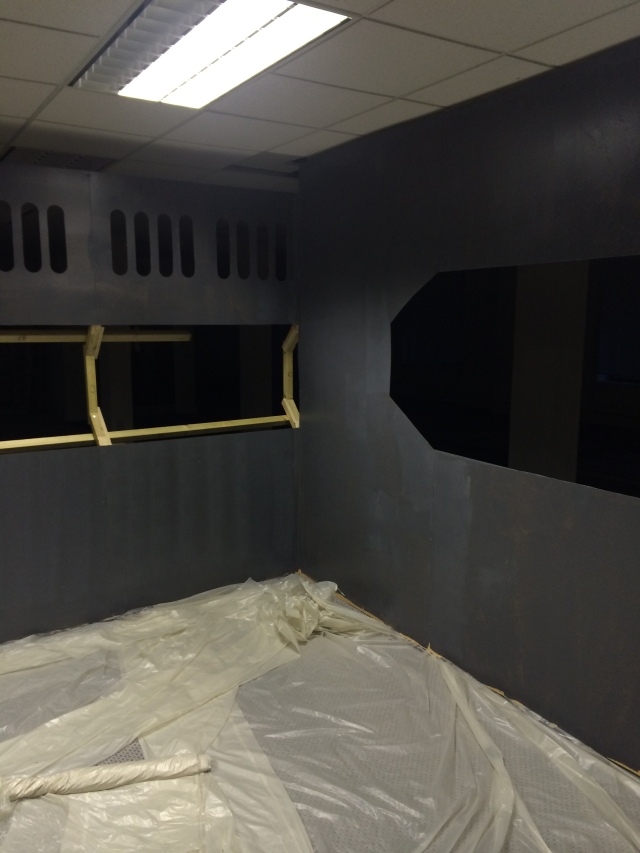
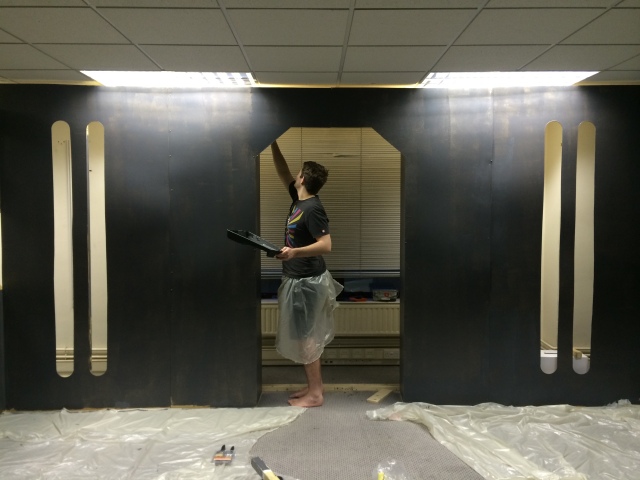
Well the main bulk of the construction was done, next it was time to paint. Me and rob went to B&Q and got a really good deal on paint, what would have cost us £90 ended up costing £30. They didn’t have the shade of grey I wanted, so we had to get some black and mix it with a tub of white paint, in the end it didn’t really make a massive difference. The whole thing took two coats. IMG_1156 IMG_1151IMG_1159IMG_1160


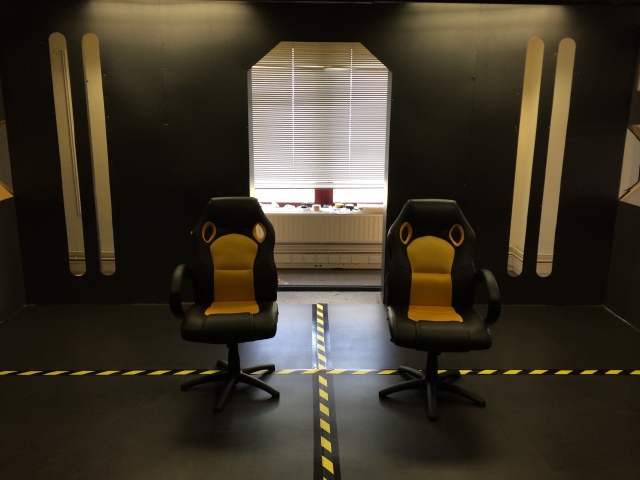
One it was painted we moved in the floor and secured it down using gaffer tape and safety tape to make it look more industrial. It was also time to add the chairs into the ship, which were missing an arm so the pilots could get out easier.

IMG_1199


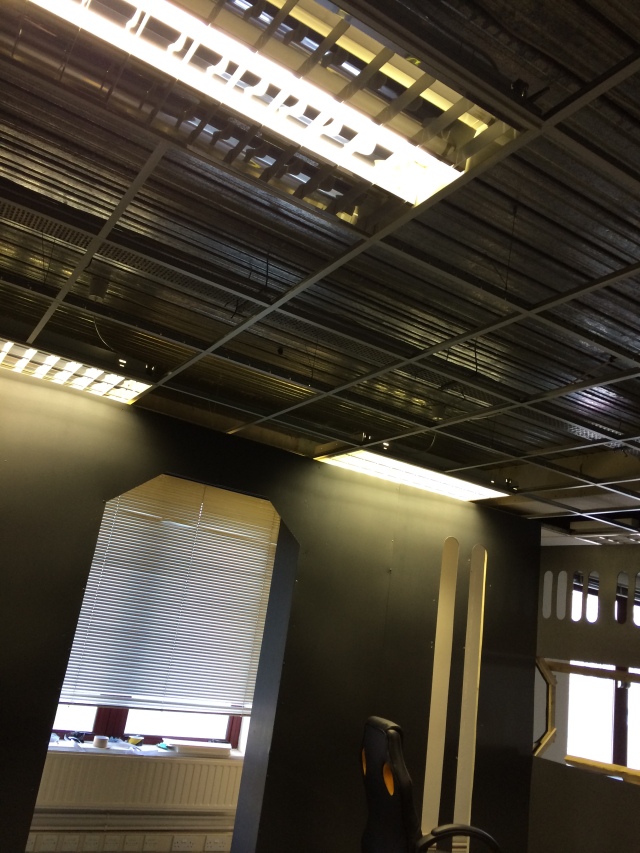
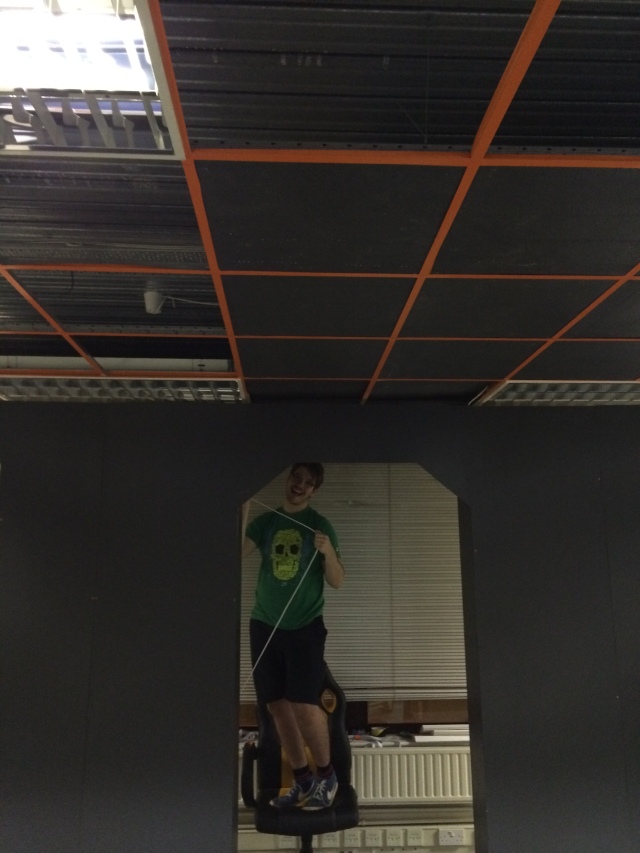
We needed a roof, so we took out all the roof tiles and painted the black with the left over paint. Then rob spent 12 hours covering the aluminium beams in orange tape to match the colour scheme. It was crazy just how much difference it made.


IMG_1203


IMG_1249


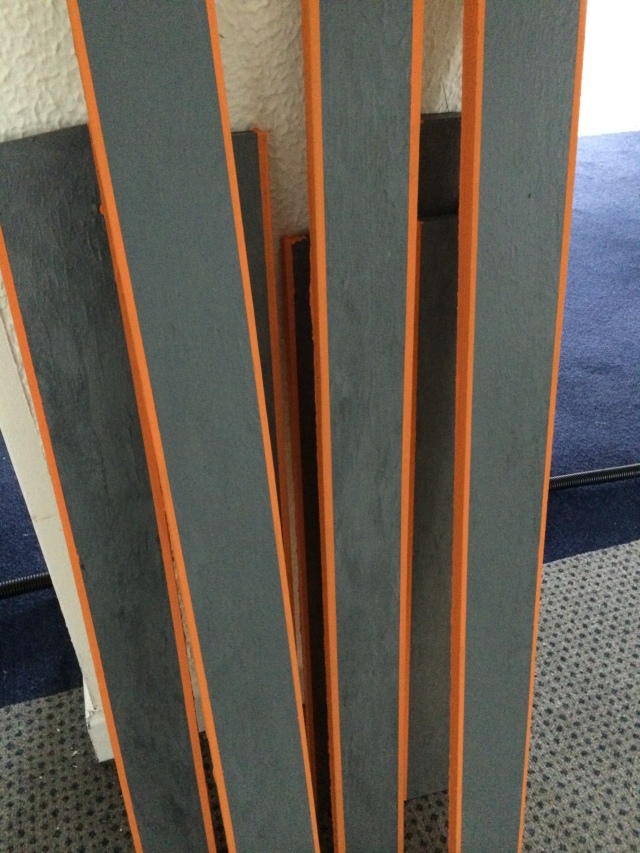
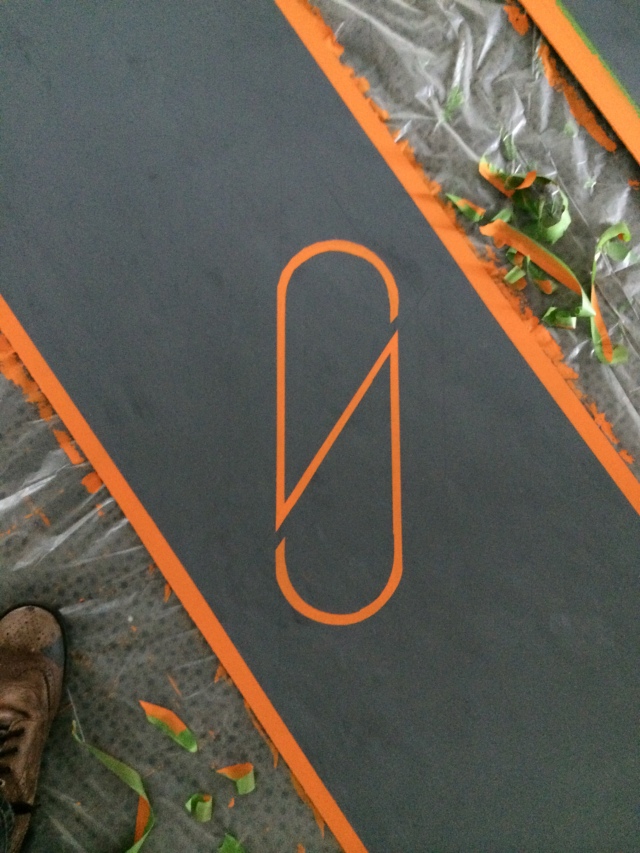
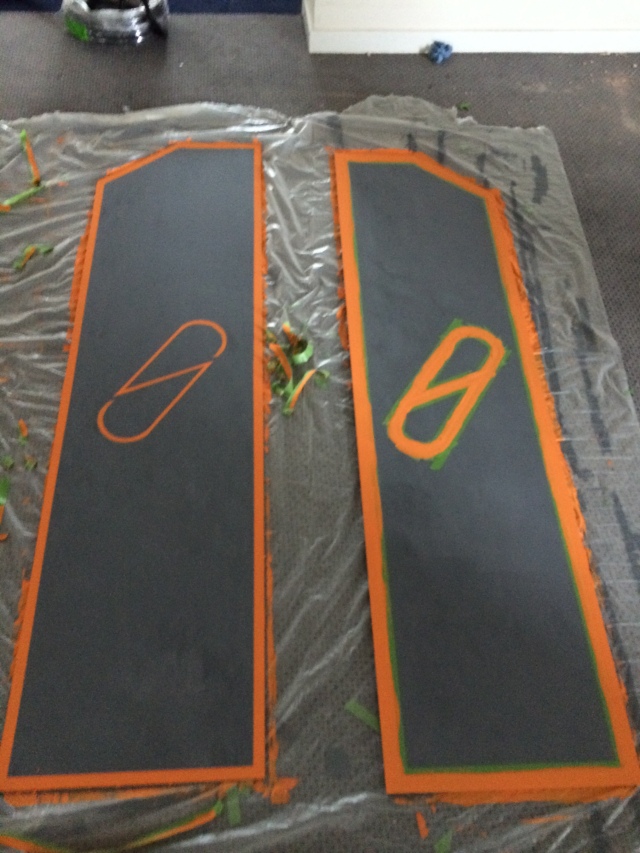
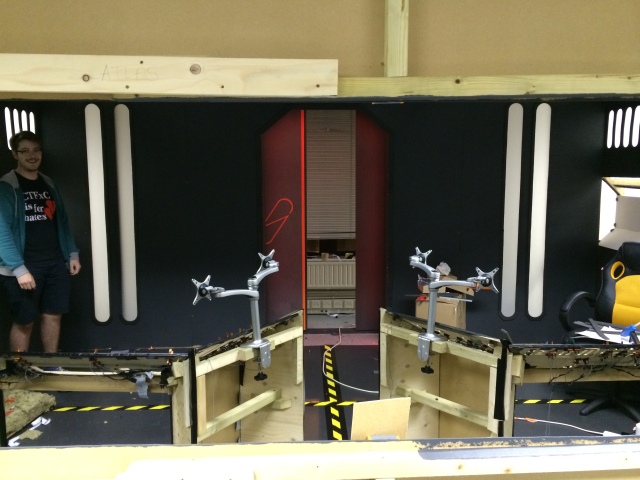
Once we had the ceiling down it was time to paint the door and sort out some detailing for the sides of the ship. We lightened up the blackish grey paint even more so it would be distinguishable and put orange stripes round everything to highlight it.

IMG_1250 IMG_1251 IMG_1252


After these were done we put tracing paper behind the light holes to diffuse the light coming though them.

IMG_1261

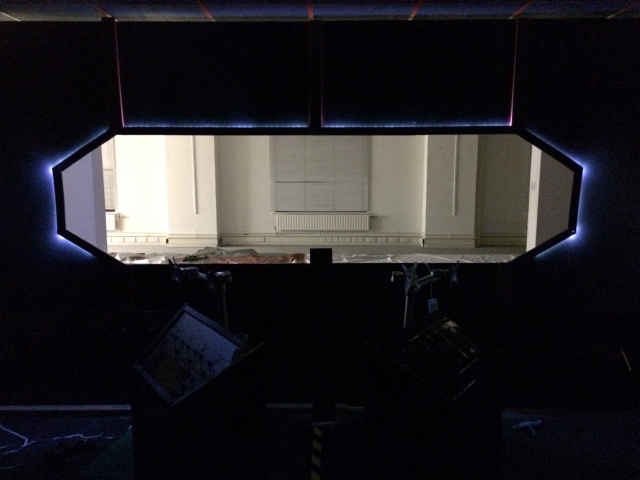
We also added lighting to the doorway and to the window using LED stips to make them pop.

IMG_1262 IMG_1278


Then there you go, it was complete.


IMG_1309

R.E.D – Constructing The Atlas

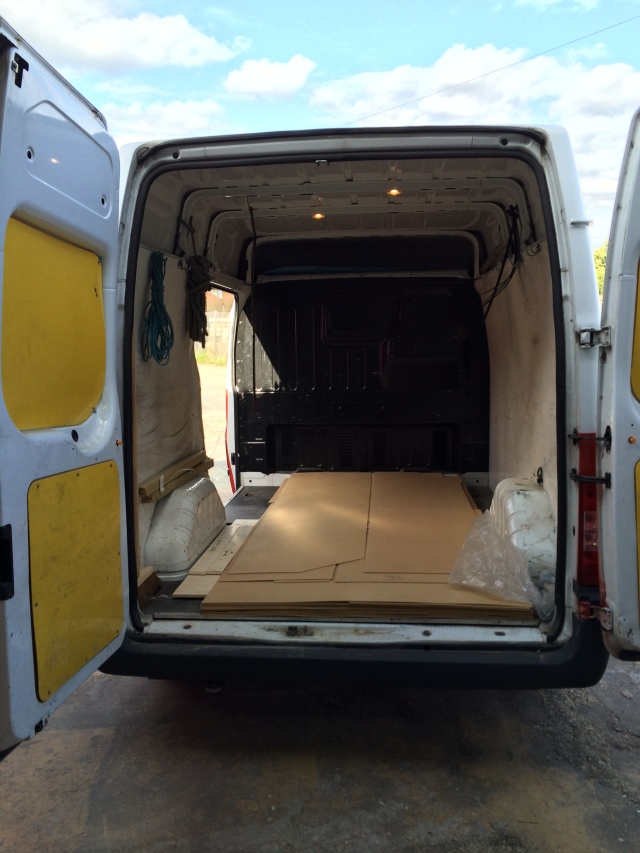
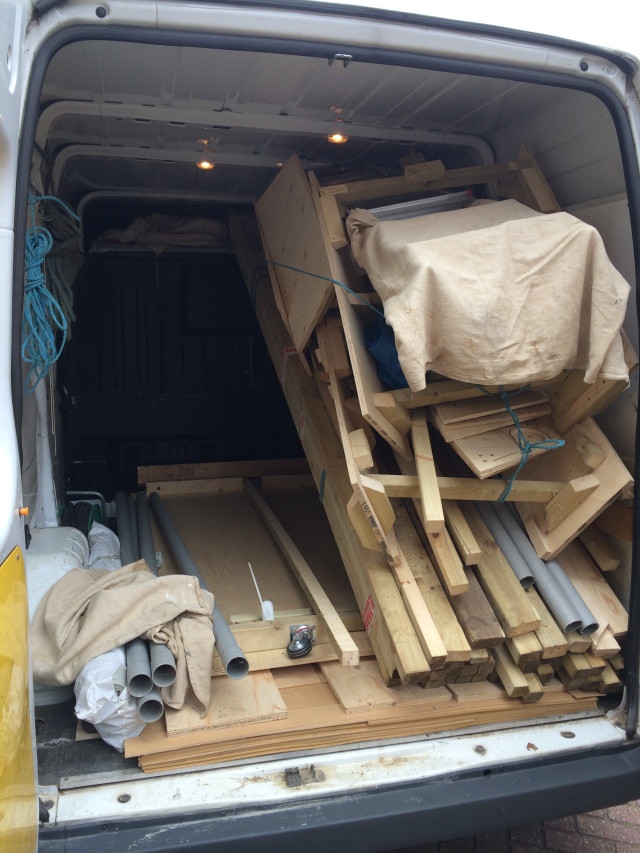
It was time to head back to university, and time to pack up the space ship into a van a long with all my other possessions. it was a tight squeeze.

IMG_1008 IMG_1012


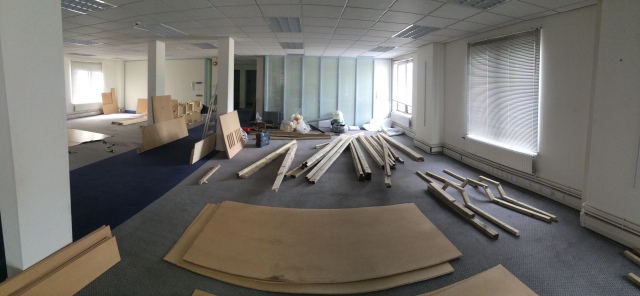
So everything was jammed in, next it was a 5 hour journey to Plymouth where Jake and Josh had kindly let me use their office space to build the space ship. As soon as we arrived we unloaded my stuff at the house then went to unload the ship. It was a pain in the ass lugging everything up 3 flights of stairs.

IMG_1015 IMG_1016

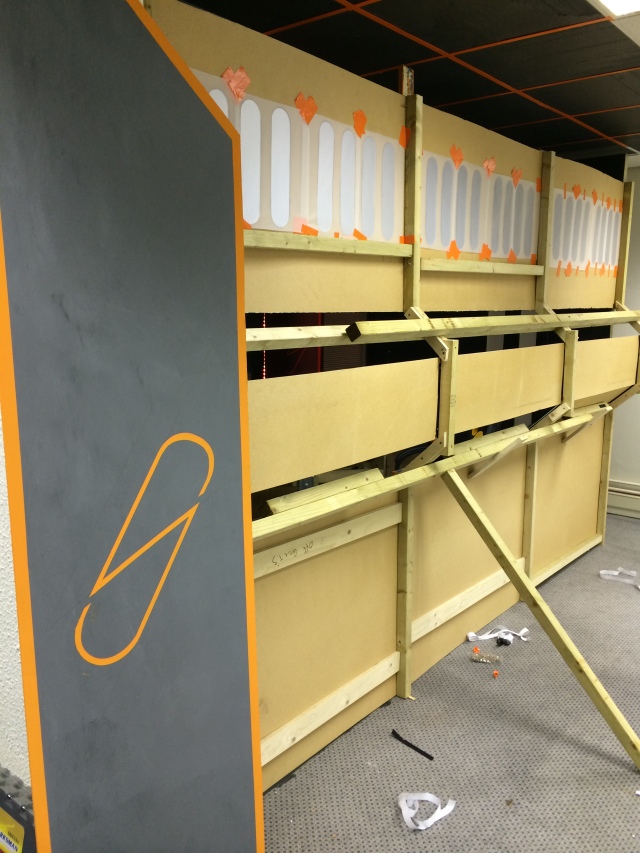
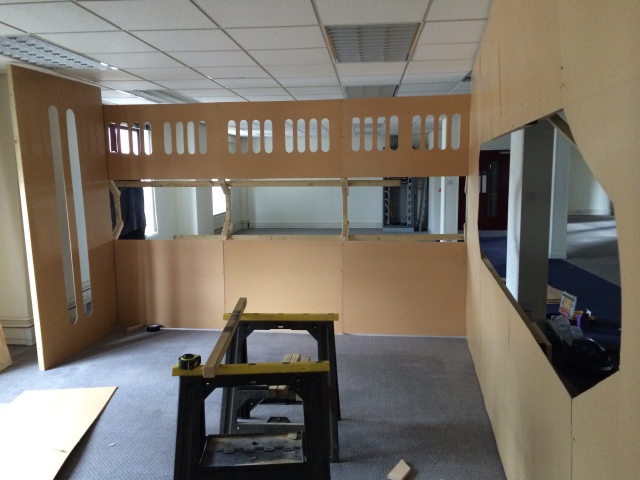
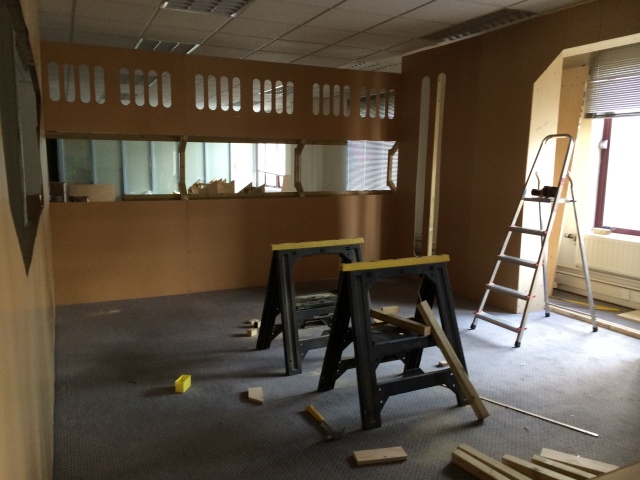
Before long the whole place was filled with wood, but it was time to build it and to see if the thing actually fit together. We got there in the end, we found that it was very flimsy so we had to strut up everything round the back. The gaps that you can see in the middle are for the camera to shoot through, I applied Velcro to the rest of the wood so it would stick in place. This became difficult in itself as the velcro would not stick to the wood very well, so i ended up applying a lot of hot glue and also screwing it in place. It all went together quite smoothly though.

IMG_1038 IMG_1039